How to Blanch Vegetables Like a Pro Chef
Have you ever wondered why the vegetables at your favorite restaurant always look so vibrantly green and perfectly crisp? There’s a simple technique that home cooks often overlook – blanching. This quick cooking method makes all the difference between dull, mushy veggies and ones that pop with color and flavor.
Blanching might sound fancy, but it’s actually one of the easiest cooking techniques to master. Whether you’re prepping veggies for freezing, salads, or stir-fries, learning how to blanch vegetables properly will elevate your cooking game. Let me walk you through everything you need to know to get perfect results every time.
Table of Contents
Why Blanching Vegetables Makes All the Difference
Blanching isn’t just some unnecessary extra step – it serves several important purposes that make your vegetables taste and look their best. Here’s why it’s worth the small amount of extra effort:
1. Color Preservation: That beautiful bright green in broccoli or asparagus? Blanching locks it in by stopping enzyme action that causes fading.
2. Texture Perfection: It gives you that ideal crisp-tender bite – not too raw, not too soft.
3. Nutrient Retention: While all cooking causes some nutrient loss, blanching minimizes it compared to longer cooking methods.
4. Food Safety Bonus: The quick boil kills surface bacteria, especially important if you’re freezing the vegetables.
5. Peeling Helper: Ever tried peeling tomatoes or peaches? Blanching makes the skins slide right off.
I learned the importance of blanching the hard way when I once froze fresh green beans without blanching them first. Three months later, they were a sad, grayish mess with a weird texture. Never again!
Gathering Your Blanching Toolkit
You don’t need any special equipment to blanch vegetables successfully, but having these basic tools makes the process smoother:
Essential Equipment:
- Large pot (6-8 quarts): You need enough space for veggies to move freely
- Slotted spoon or blanching basket: For quickly removing vegetables from boiling water
- Large bowl for ice bath: Big enough to hold your veggies with plenty of ice
- Colander: For draining after the ice bath
- Clean kitchen towels: For patting vegetables dry
Ingredients You’ll Need:
- Fresh vegetables (obviously!)
- Ice cubes (about 2 cups per quart of water)
- Salt (optional, but recommended)
Pro Tip: I keep a bag of ice cubes specifically for blanching in my freezer so I’m always ready. The ice bath is crucial for stopping the cooking process immediately.

The Step-by-Step Blanching Process
Now let’s walk through exactly how to blanch vegetables properly. Follow these steps and you’ll get perfect results every time.
1. Preparing Your Vegetables
Start with fresh, high-quality vegetables. Here’s how to prep them:
- Wash thoroughly: Rinse under cold water to remove dirt
- Cut uniformly: Pieces should be similar size for even cooking
- Broccoli and cauliflower: Cut into florets
- Green beans: Trim ends
- Leafy greens: Remove tough stems
- Carrots: Slice or cut into sticks
Common Mistake Alert: Don’t skip the uniform sizing! I once made the mistake of throwing whole carrots in with baby carrots – the small ones turned to mush while the big ones were still crunchy.
2. Boiling the Water
Use these guidelines for your cooking water:
- Water amount: At least 1 gallon per pound of vegetables
- Salt (optional): 1 tablespoon per gallon enhances flavor
- Bring to rolling boil: Bubbles should be vigorous
Equipment Note: If you don’t have a blanching basket, no worries! A slotted spoon or mesh strainer works fine.
3. Blanching Times for Common Vegetables
Here’s a handy reference table for how long to blanch different vegetables:
| Vegetable | Blanching Time |
|---|---|
| Asparagus | 2-3 minutes |
| Broccoli florets | 2 minutes |
| Brussels sprouts | 3-4 minutes |
| Carrots (sliced) | 2-3 minutes |
| Green beans | 2 minutes |
| Peas | 1-1.5 minutes |
| Spinach | 30 seconds |
| Zucchini slices | 1 minute |
Timing Tip: Start counting time as soon as you add vegetables to the boiling water. Overblanching leads to mushy results.
4. The Ice Bath Shock
This step is non-negotiable for stopping the cooking process:
- Prepare ice bath while vegetables blanch
- Use 1 part ice to 3 parts cold water
- Transfer vegetables immediately after blanching
- Leave in an ice bath for the same amount of time as blanching
- Drain thoroughly in a colander
Why It Matters: The ice bath preserves that perfect texture and bright color. I’ve skipped this step before when in a hurry, and the vegetables continued cooking into a soggy mess.
5. Drying and Storing
After the ice bath:
- Spread vegetables on clean kitchen towels
- Pat gently to remove excess moisture
- For freezing: Spread on a baking sheet first, then transfer to airtight containers
- For immediate use: Store in fridge for up to 3 days
Avoiding Common Blanching Mistakes
Even with a simple technique like blanching, there are pitfalls to avoid:
1. Overcrowding the Pot
- Too many veggies lower the water temperature
- Results in uneven cooking
- Solution: Work in batches if needed
2. Skipping the Ice Bath
- Vegetables continue cooking
- Lose crispness and vibrant color
- Solution: Always have ice ready before starting
3. Inconsistent Cutting
- Uneven pieces cook at different rates
- Solution: Take time to cut uniformly
4. Using Old Vegetables
- You won’t get the same vibrant results
- Solution: Blanch when veggies are freshest
I’ll admit to making all these mistakes at least once in my cooking journey. The worst was when I tried to blanch an entire head of cauliflower at once – the outer florets turned to mush while the inner ones stayed raw!
Blanching vs. Other Cooking Methods
How does blanching compare to similar techniques? Here’s the breakdown:
Blanching vs. Parboiling:
- Blanching: Very quick (1-3 minutes), followed by ice bath
- Parboiling: Longer cooking (5-10 minutes), no ice bath
- Best for: Blanching = preserving; Parboiling = partial cooking before roasting
Blanching vs. Steaming:
- Blanching: More nutrient loss to water, but faster
- Steaming: Retains more nutrients, gentler process
- Best for: Blanching = bright color; Steaming = delicate veggies
Personal Preference: For most green vegetables, I prefer blanching because it gives that perfect crisp-tender texture. But for something like baby carrots, I might steam instead.
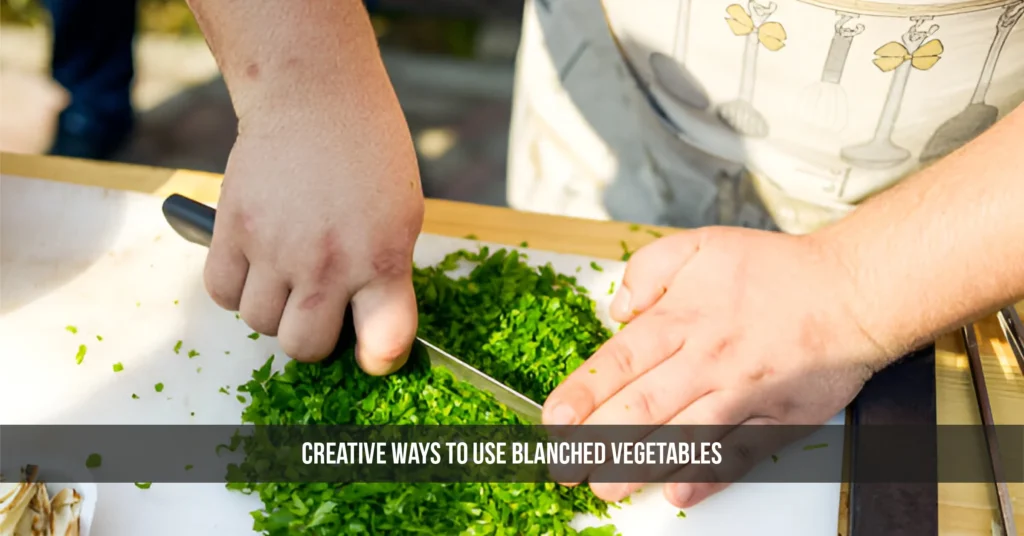
Creative Ways to Use Blanched Vegetables
Now that you’ve perfected blanching, here are some great ways to use your perfectly cooked veggies:
For Meal Prep:
- Add to grain bowls
- Mix into pasta salads
- Include in lunchbox wraps
For Freezing:
- Blanch before freezing to preserve quality
- Flash freeze on trays before bagging
- Will keep 8-12 months in freezer
For Special Dishes:
- Crudité platters (better than raw!)
- Stir-fry starters
- Salad additions (warm or cold)
Pro Tip: I always blanch extra vegetables when prepping. They keep well in the fridge for 3 days, making weeknight dinners so much easier.
Conclusion:
Blanching might seem like an extra step, but it’s the secret weapon of professional cooks and savvy home chefs alike. After walking through this complete guide, you now know:
✔ Why blanching matters – for color, texture, and food safety
✔ Exactly how to do it – from prep to ice bath
✔ Common mistakes to avoid – so you get perfect results
✔ Creative ways to use blanched vegetables in your cooking
The best part? Once you get the basic technique down, you can apply it to almost any vegetable in your kitchen. Those crisp-tender green beans in your salad, the vibrantly colored broccoli in your stir-fry, the perfectly textured carrots in your freezer – they all start with proper blanching.
Why not try it tonight? Pick your favorite vegetable and give blanching a shot. Once you taste the difference, you’ll never go back to plain boiled or raw veggies again. Happy cooking!
Also Read: 6 Essential Foods to Always Keep in Your Freezer
FAQs
What’s the best pot for blanching vegetables?
Use a large 6-8 quart pot with plenty of boiling water – this maintains temperature when adding veggies and ensures even cooking.
Can you blanch frozen vegetables?
Yes, but add 1 minute to blanching time and don’t thaw first – the ice crystals help maintain texture during cooking.
Why do chefs salt blanching water?
Salt enhances flavor penetration and helps preserve color – use 1 tbsp per gallon for best results without over-salting.
How long do blanched vegetables last in fridge?
Properly stored in airtight containers, blanched veggies stay fresh 3-5 days – pat them completely dry before refrigerating.
Is blanching necessary for stir-fries?
While not mandatory, blanching first ensures even cooking and brighter colors – especially helpful for dense vegetables like carrots or broccoli.








Post Comment